Table of Contents
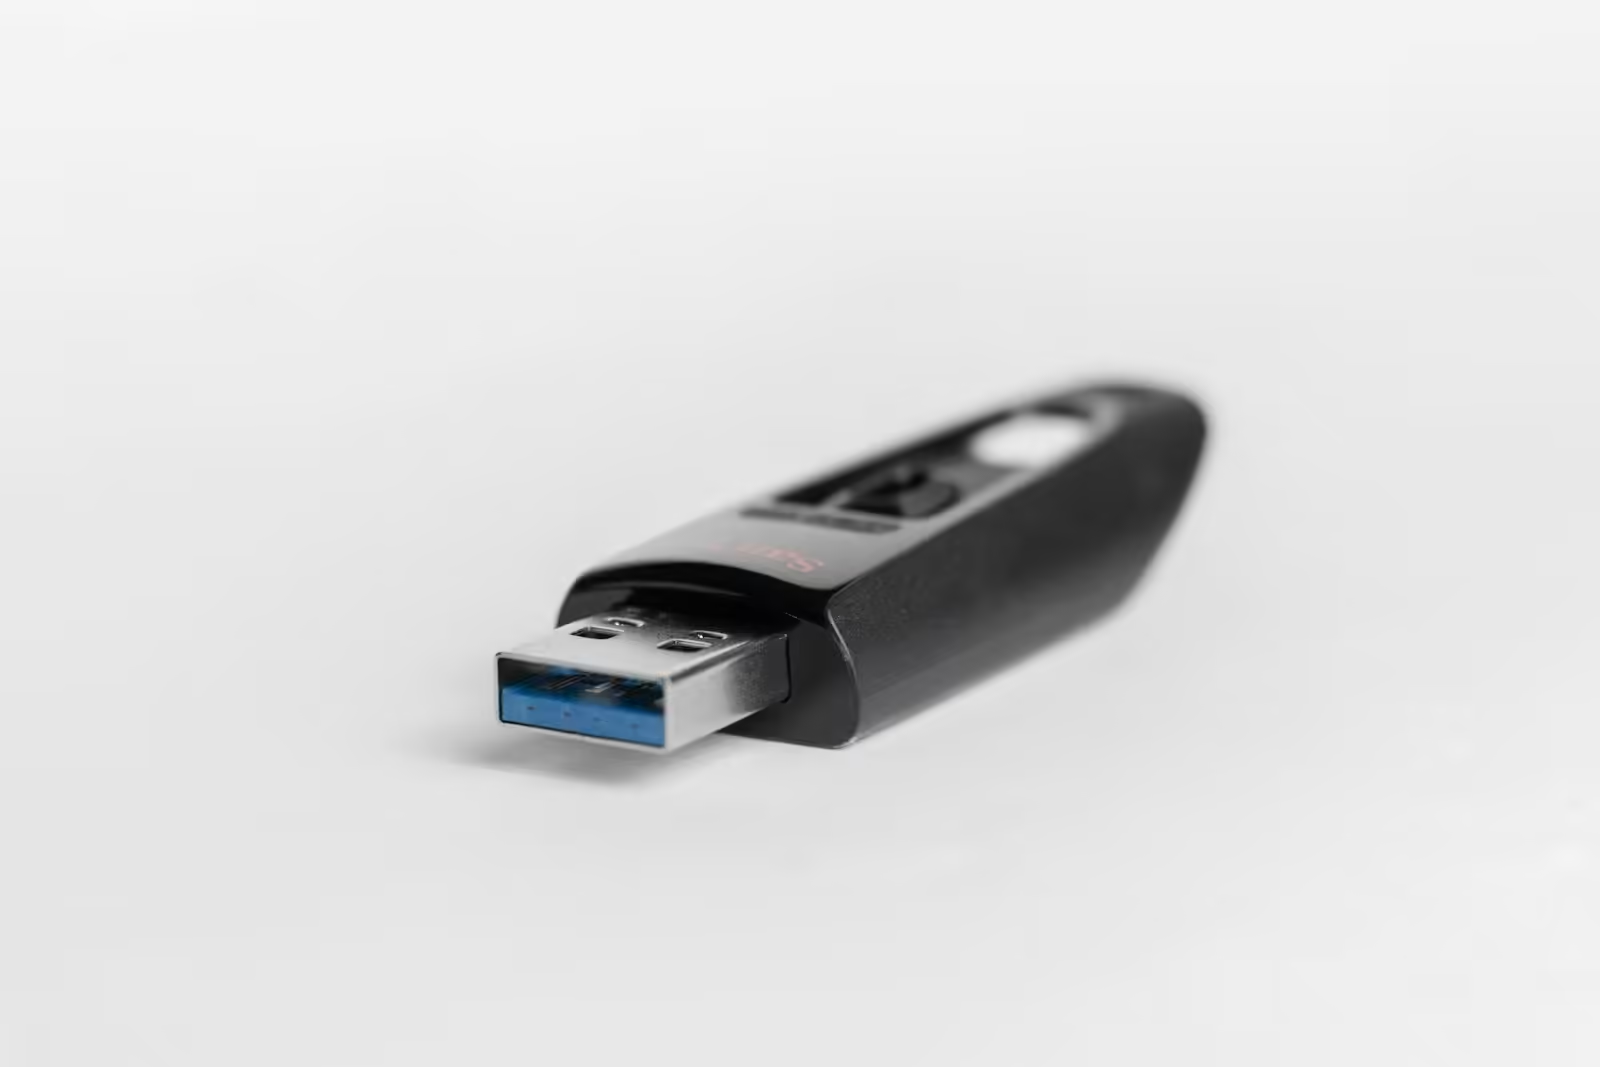
Although many of us now use cloud storage services, USB drives are still useful even though they are not as common as they used to be. One application for a USB stick is to operate an entire computer system from it, which you can carry wherever you go. When you’re at a separate workstation, you don’t have to spend time setting everything up as you want because you can just plug in the drive and start using your files and programs right away. Your data and apps are never left behind at home or at work.
How to Set Up a USB Drive
How it works
It goes without saying that a PC requires a motherboard, keyboard, monitor and other components; You can’t carry an entire PC on a USB stick. Nevertheless, a portable USB drive can manage all storage and software: as long as you have access to a computer with an extra USB slot, you can use your portable PC.
It doesn’t interfere with the current configuration of the computer you’re using, so you can borrow one from a friend or colleague without bothering them. After you restart the computer and instruct it to boot from your USB stick instead of internal storage, your operating system launches. After finishing, turn off the computer, remove the USB device and you’ve left no trace behind.

If you’re constantly on the road and want to use the same desktop experience wherever you go, this is fantastic. It can also be useful if you want to test an alternative operating system without installing anything permanently on your computer, or if you want to troubleshoot problems with your hardware configuration.
There are a few things to keep in mind, though. You can only do simple computer operations with a USB drive because it is not as powerful or fast as a full desktop or laptop machine. The easiest way to run a standalone system on macOS is to setting up a virtual machine.; It doesn’t really work on Macs because of their different design.
Choosing an OS
Windows is a viable option for your USB PC’s operating system, but using it will require a paid license and won’t provide the same user experience. You can choose to use it through a third-party program like WinToUSB instead. Choosing a flavor of Linux is a good choice: you should experience the smooth operation of a USB drive because the software is not only lighter and free to use, but also reduces operating stress.
Linux is an open source desktop operating system that, in case you’re unfamiliar with it, comes in a variety of variants or distros. While Windows and macOS provide a wide range of software options and hardware support, it lacks these features, all essential computing apps are covered: You can browse the web, check your email, do some work, edit images, and plenty more on Linux.

Which distribution you want to use is up to you: you can run almost any version of Linux on a USB stick with relative ease. However, if you check a feature called “persistence” in the distro instructions, you’ll be able to store files and settings on the USB drive instead of starting from scratch every time you boot it.
Choosing a lightweight and simple distribution will allow it to work as smoothly as possible. For this particular use, Puppy Linux and Linux Lite are frequently recommended, but Tail is fantastic if security is the main concern—it immediately joins the Tor network whenever you access the Internet. Ubuntu is an excellent choice too, offering a polished interface and plenty of help documentation.
Getting started
Go to the official Linux distribution’s website and search for the ISO file to download; It is effectively an entire operating system. You may have to wait a bit because these types of downloads can often reach several gigabytes. It’s also a good idea to consult the documentation for the distribution if you have any comments or suggestions on USB installation.
The ISO has to be put on the USB drive by a tool that does more than just transfer files; It also needs to enable booting from disk. We chose Etcher for this guide out of the available options, which also include Rufus: you can use it on both Windows and macOS (and actually, Linux), and it’s really easy to use.

When you launch Etcher, you’ll see three steps: To select an ISO file from your disc, select Flash from file. Next, select the USB drive linked to your computer by selecting Target. Finally, click Flash to complete the process. In terms of USB drives, it is advisable to have at least 8 GB capacity and as fast a read/write speed as you can find; The pages of the distro you choose may include the following requirements.
That’s all done, you can use your USB drive by inserting it into an available USB port on any computer, choosing to boot from a USB stick on restart, and using your USB drive. The procedure varies, but in general, selecting A requires pressing the key boot device while the computer’s starting up—look for a message on screen or check the documentation that came with the computer, if you’re not sure.
READ | Is it possible to incorrectly insert the CPU into the motherboard socket?
READ | How to set various USB stick operating systems to boot


2 thoughts on “How to Set Up a USB Drive as a Portable Computer”