Table of Contents
Quick Links
- SSD partition requirements
- How to partition SSD
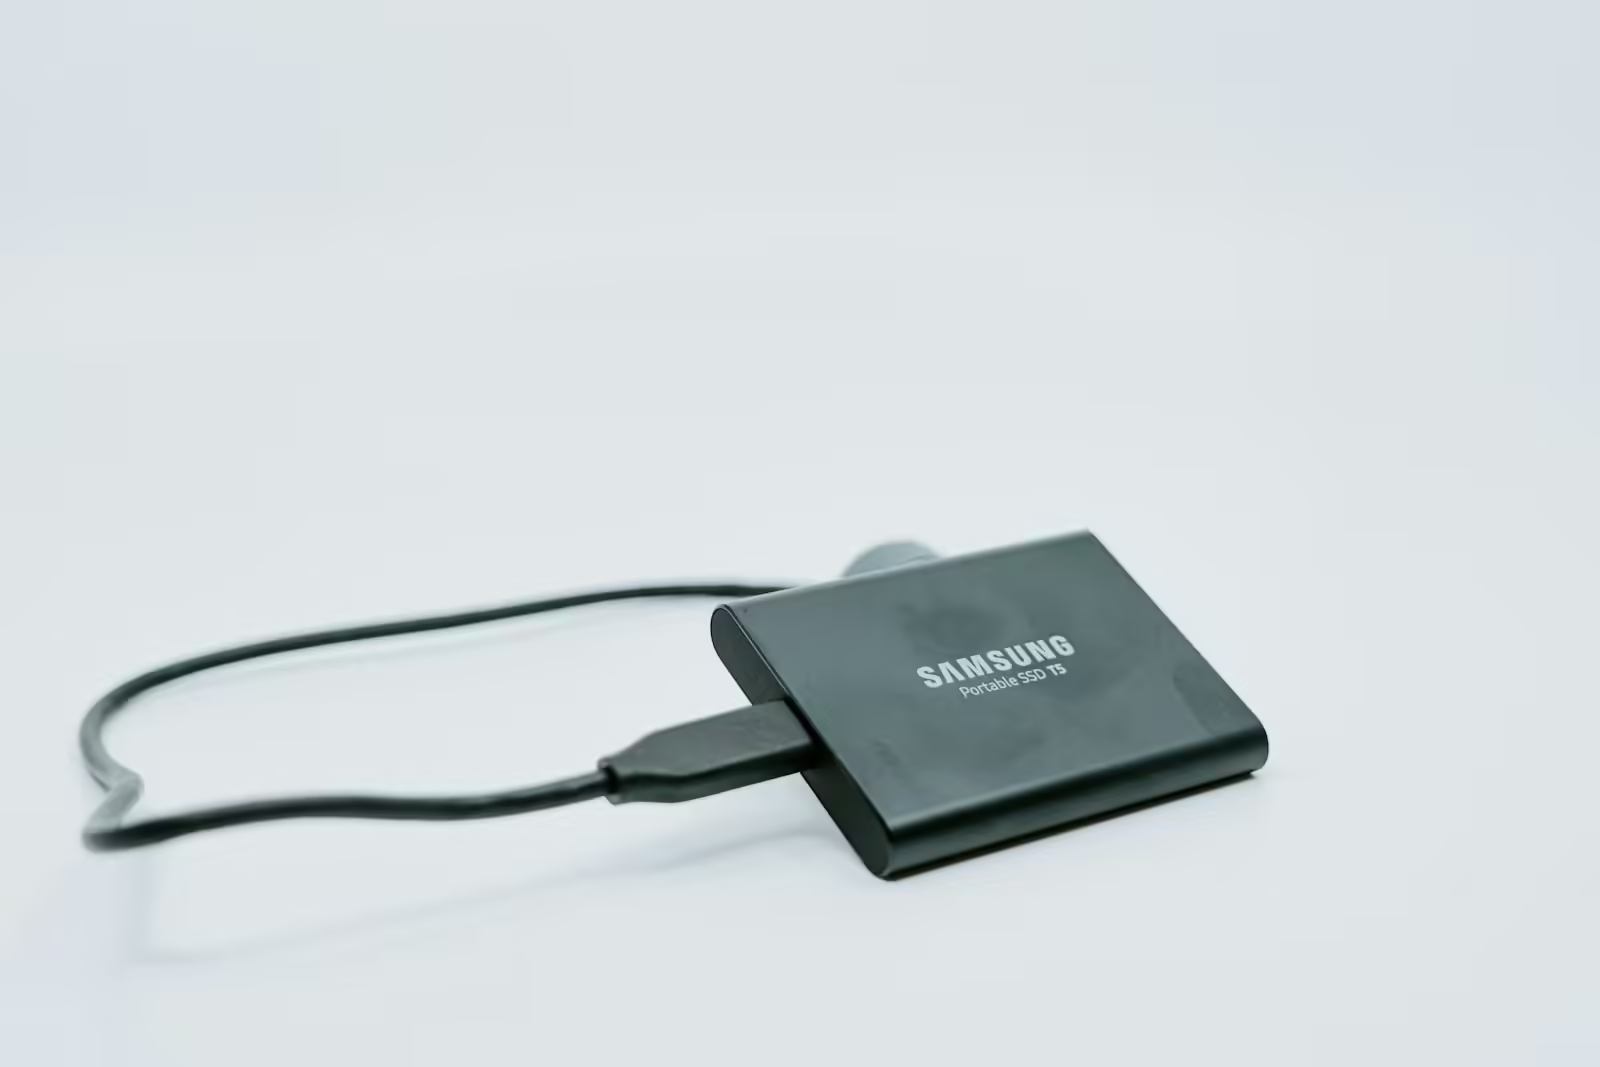
Partitioning your PC’s fantastic SSD can be done for many reasons and it’s a really simple operation. You can store private information without OS files on separate partitions, protecting it from damage during operations such as operating system reinstallation. Separate partitions can also be used to encrypt private files and data or to dual-boot Windows 11 with other operating systems.
The best thing about partitioning an SSD is that you don’t need to buy or download any additional software because Windows comes with all the tools you need. As I indicated earlier, the entire process only takes a few minutes and is very straightforward. If you’re not sure where to start, here’s a step-by-step tutorial that explains how to partition an SSD from scratch.
Partitioning an SSD: Prerequisites
Make sure there’s enough space for partitioning

Before doing anything else make sure there is enough space on the drive you are trying to create a new partition on. A new partition cannot be added to an almost full disk. When partitioning an OS disk, it is important to leave some space available for possible system file needs. As a general rule make sure you have enough capacity for whatever new partition you’re trying to create by leaving at least 50GB extra on the OS disk.
Create a backup

You must also create a backup of your files and important data in the event something goes wrong during the partitioning process. There are various ways to back up your Windows PC, so drop everything you’re doing and create a backup right now if you haven’t already.
Identify the correct drive to partition

Of course, the first step in partitioning a disk is to identify it and record its location. If you are dealing with multiple drives, you need to identify and note which is the correct drive. If you only have one drive, you can skip this step. You may see more than one partition on the Disk Management interface, making it more likely that you’ll accidentally select the wrong drive.
How to partition the SSD
Now that we have covered all the necessary criteria, let’s see how to partition an SSD.
For the sake of this post, we’ll be using a Windows 11 PC to guide you through the process and take screenshots, but you can also use a Windows 10 PC.
- To find the partition, click the Start button.
- To see a list of all your drives in the Disk Management tool, select Create and format hard disk partitions.
- Find the disk you want to partition and ignore any other drives you see.
- Right-click on it and select Shrink Volume.
- Megabytes (MB) should be entered to minimize space.
- By default, it is configured to be as low as possible, but you can also choose a lower value to take up less space.
- Now, a new block of unallocated space will appear. To mount a new partition, right-click on it and select New Simple Volume.
- To assign a drive letter to your newly created partition, follow the on-screen steps. In addition
Your PC may take a few seconds to process, but when it’s done, you’ll see your new partition in File Explorer.

Closing thoughts
And how easy it is to partition a new SSD. To partition your hard disk, you can also use the same process mentioned earlier. And it only takes a few minutes to complete. But, you may encounter some issues that prevent you from partitioning with Windows’ built-in disk management tool. If you get stuck and can’t continue, you should try a third-party tool. There are plenty of solutions out there, but I suggest you check out Paragon Partition Manager or MiniTool Partition Wizard, both of which include a free version that has enough capabilities to help you create new partitions.
READ | How to set various USB stick operating systems to boot
READ | How to Convert SSD from MBR to GPT: A Comprehensive Guide


2 thoughts on “SSD Mastery: An example of how to expertly partition your SSD”