

Table of Contents
Here’s a solution that combines the best of both worlds in today’s fast-paced society, when time is a valuable resource but the desire for homemade cakes is still great.
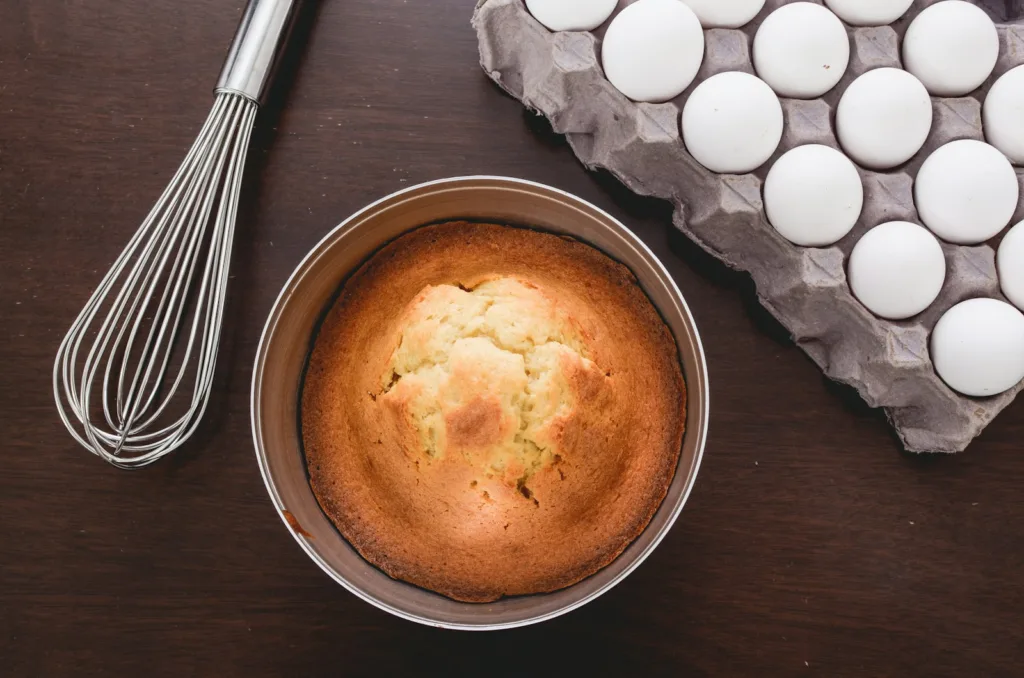
Yogurt Cake
A quick and easy recipe for a basic yogurt cake that can be customized to your taste and preferences thanks to its many variations.
Anyone with a hectic schedule who might be skeptical about fitting in homemade baking is going to find this recipe to be a genuine blessing.
The yogurt cake promises an easy and seamless baking process as well as a delicious outcome that will please even the pickiest palate.
The recipe requires just three basic ingredients:
- 400g sweetened plain yogurt – or for a twist, flavored yogurt
- Four eggs
- 40g cornstarch
Step 1: Preparing the Pan
- Preheat the oven to 175°C/350°F.
- Coat the inside of a 6-inch round springform pan with cooking spray.
- Make sure the huge sheet of parchment paper covers the entire inside of the pan and hangs over the edge just a little bit. Accepting certain wrinkles and inconsistencies, mold the parchment as smoothly as possible to the sides and bottom of the pan. The corners of this cake will not be completely round because it has a rustic character.
Step 2: Mixing the Ingredients
- Start by adding the yogurt to a large mixing bowl. If you would like to add sugar, do so now (see recipe notes). Whisk it into the yogurt.
- Add eggs one at a time, allowing each to thoroughly incorporate into the mixture before adding the next, until the batter is evenly smooth.

Step 3: Adding Cornstarch
- Cornstarch should be gradually added to the batter by sifting it through a fine-mesh strainer to ensure uniform distribution. Until the mixture is smooth and devoid of any cornstarch clumps, whisk it completely.
Step 4: Baking the Cake
- Pour the batter into the pan that you have prepared.
- Bake for about 1 hour, or until the cake looks golden caramelized, has risen, and the top is no longer moist.
- As the cake cools, it is normal for it to begin to sink and wrinkle.
Step 5: Cooling and Setting
- The cake’s flavor profile is improved if it is chilled for at least two hours after being allowed to cool for around thirty minutes at room temperature.
- If you eat the cake right away, it will taste less sweet and a little eggy.
- Take the cake out of the fridge 15 minutes before serving for the best flavor and texture. The cake will become softer and have a creamier consistency during this room temperature resting period.
This cake’s adaptability is what draws people in. You may switch up the cake’s flavor from a traditional banana version to a pleasant and refreshing strawberry one by just switching up the yogurt flavor.
Because of its versatility, the cake can be served as a beautiful dessert for an unexpected dinner party or enjoyed as a quick afternoon snack.
Thus, this yogurt cake is evidence that it is possible to enjoy baking at home even if you feel like time is running out. It is quick, simple, and allows for customization.
read also : What Occurs If You Eat Cashews Every Day